Commercial Gym Flooring Installation Guide
Prepare the subfloor and select the right installation method. This guide turns the topic into practical decisions, supplier questions and a project-ready checklist.
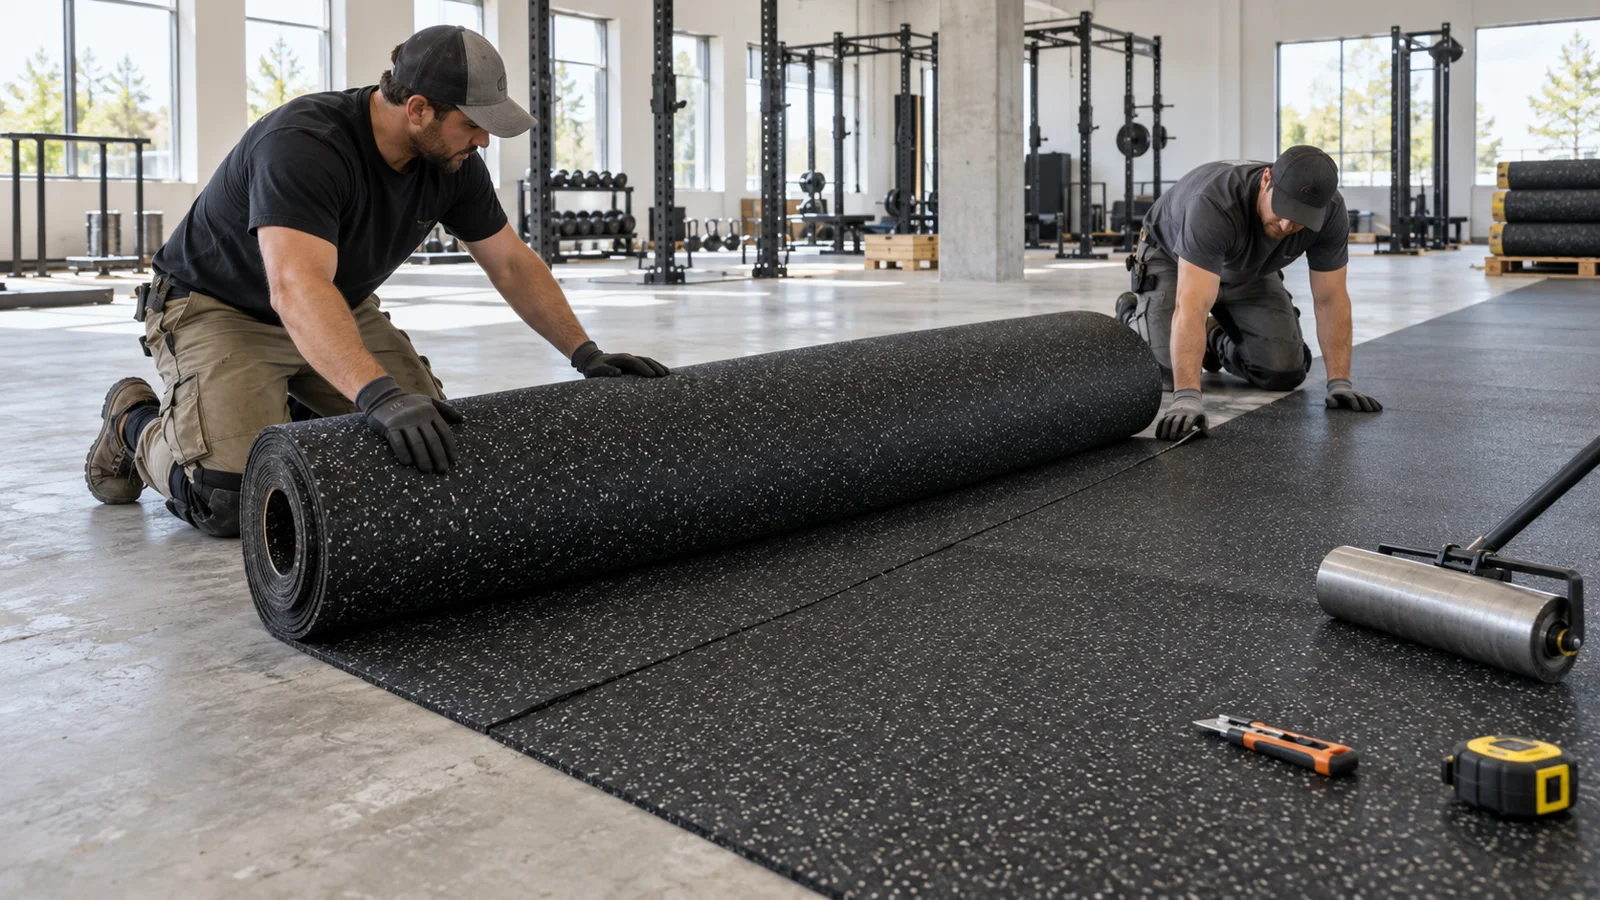
Commercial Gym Flooring Installation
A successful installation begins before adhesive is opened: inspect moisture and flatness, condition the material, set out the room, dry-lay key areas, follow the product-specific fixing method and protect the finished surface during curing.
Inspect and prepare the subfloor
Confirm that the base is structurally sound, clean, dry and sufficiently flat for the selected product. Remove contaminants, weak coatings and debris. Repair cracks and low areas with compatible materials and follow local moisture-test requirements.
Do not hide unresolved moisture or movement beneath rubber. The flooring manufacturer, adhesive supplier and installer should agree on primers, smoothing compounds and curing conditions for the actual substrate.
Condition material and plan the layout
Store rolls or tiles in the installation environment based on product guidance. Open packaging carefully and let material relax where required. Check batch, color and dimensions before mixing cartons or cutting pieces.
Establish reference lines from the visual center or the most important wall—not automatically from an uneven perimeter. Dry-lay entrances, columns, equipment pads and transitions. Plan roll direction and tile sequence before adhesive application.
Request the exact material sample, construction and packing data you plan to purchase. Product names alone are not enough for a reliable comparison.
Install by product format
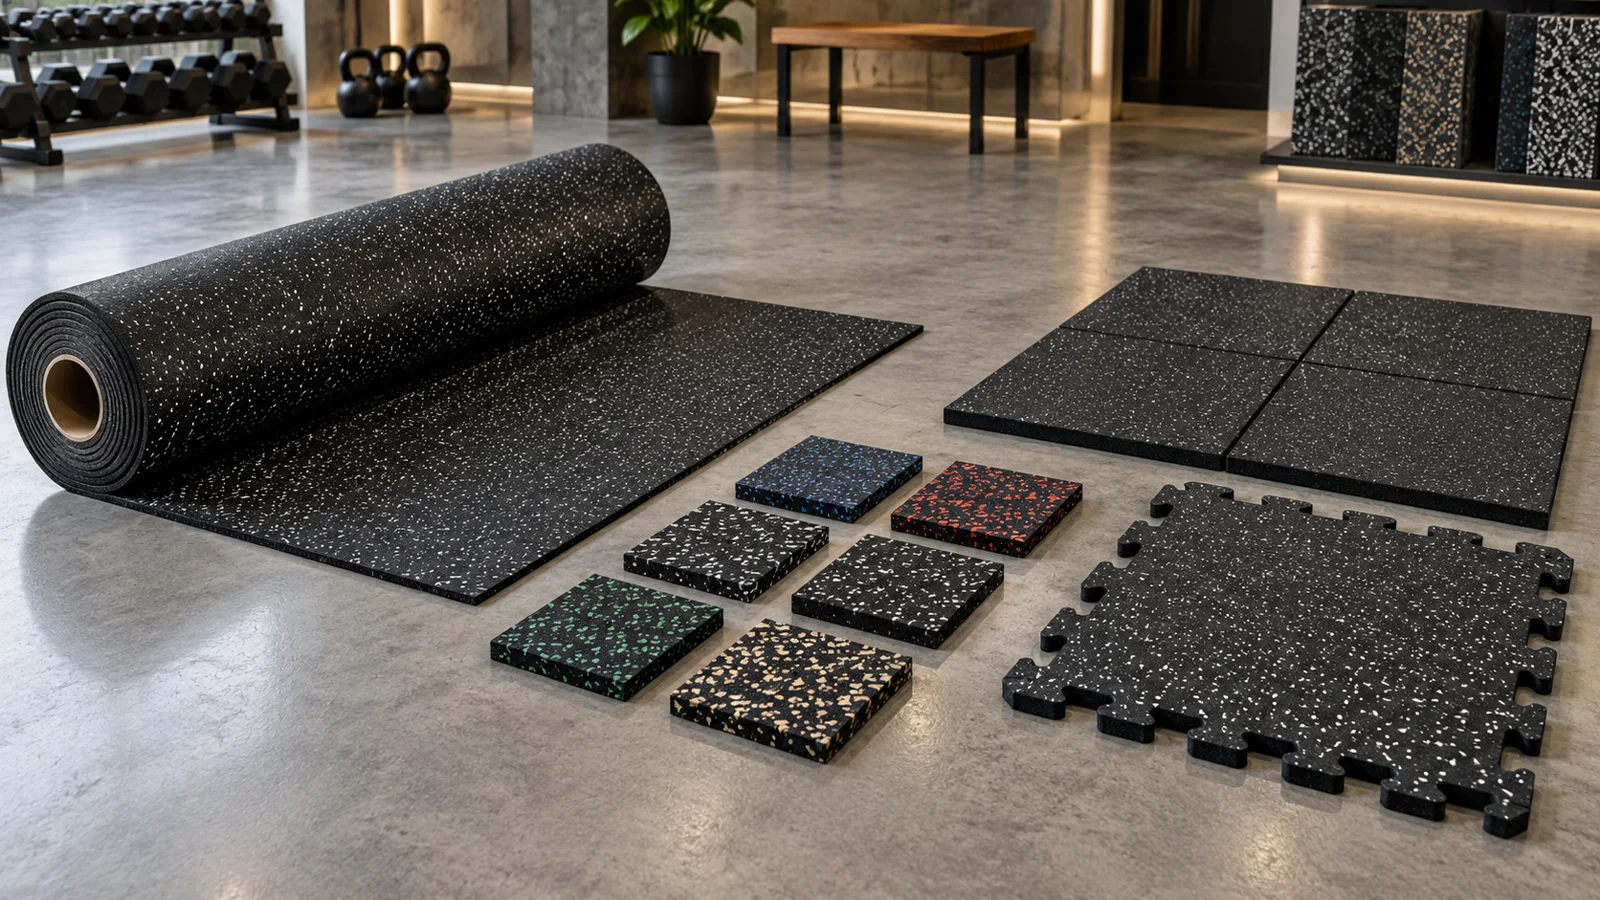
Rolls need controlled unrolling, seam trimming and consistent adhesive transfer. Square tiles need accurate grid lines and tight joints. Interlocking tiles require perimeter planning and allowance for the chosen installation method. Heavy impact tiles may use connector pins or specified bonding.
Use the approved adhesive, trowel, open time, rolling pressure and cure window. Avoid stretching rubber into position. Record site temperature, substrate condition and batch information for commercial projects.
Protect, inspect and hand over
Restrict traffic and equipment movement until the system has cured. Inspect seams, edges, transitions, surface contamination and loose pieces under good lighting. Keep spare tiles from the same approved production reference for future repairs.
Provide the operator with cleaning instructions, adhesive cure date, replacement method and any limits on heavy rolling loads. Photograph completed zones before equipment installation.
Decision table
| Stage | Critical check | Common failure to avoid |
|---|---|---|
| Before delivery | Moisture, flatness, access and storage | Material arriving before the room is ready |
| Set-out | Reference lines, direction and transitions | Following an uneven wall |
| Installation | Adhesive coverage, joints and rolling | Stretching material or rushing open time |
| Handover | Cure, inspection and protection | Moving equipment too early |
Buyer checklist
Use this list in your project brief or RFQ so suppliers can recommend and quote against the same requirements.
- ✓Approved product and batch plan
- ✓Subfloor moisture and flatness records
- ✓Room temperature and conditioning period
- ✓Layout, seam and transition drawings
- ✓Compatible adhesive and tools
- ✓Traffic restriction and handover plan
 Procurement · 10 min
 Specification · 11 min
 Product comparison · 9 min