How to Choose Gym Flooring Thickness
Match thickness to equipment, subfloor and impact risk. This guide turns the topic into practical decisions, supplier questions and a project-ready checklist.
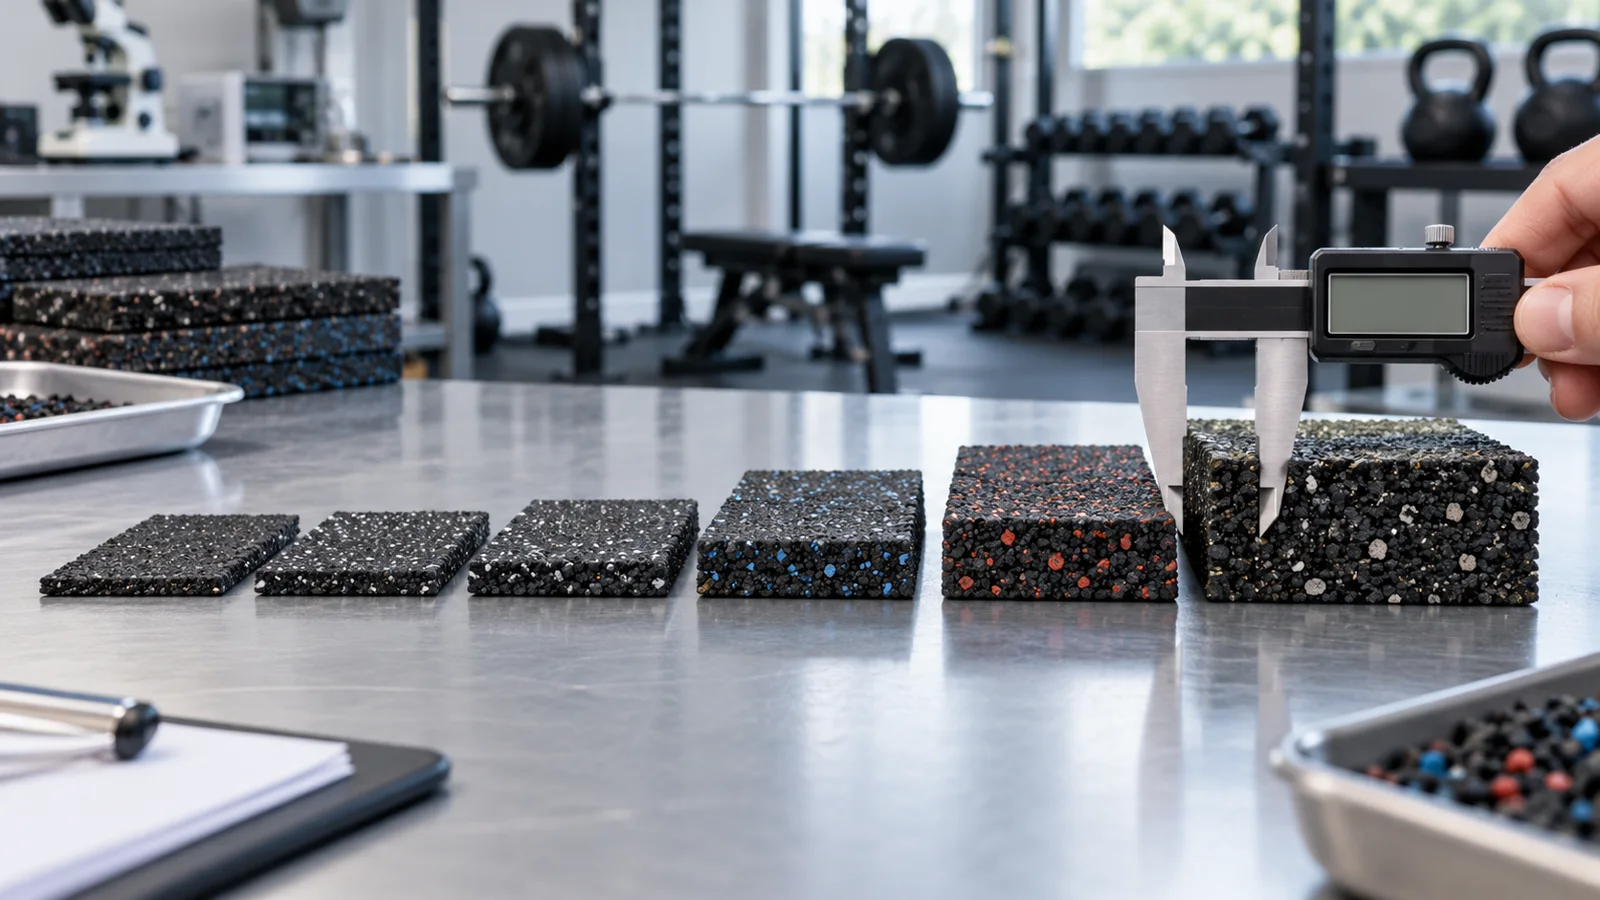
Gym Flooring Thickness
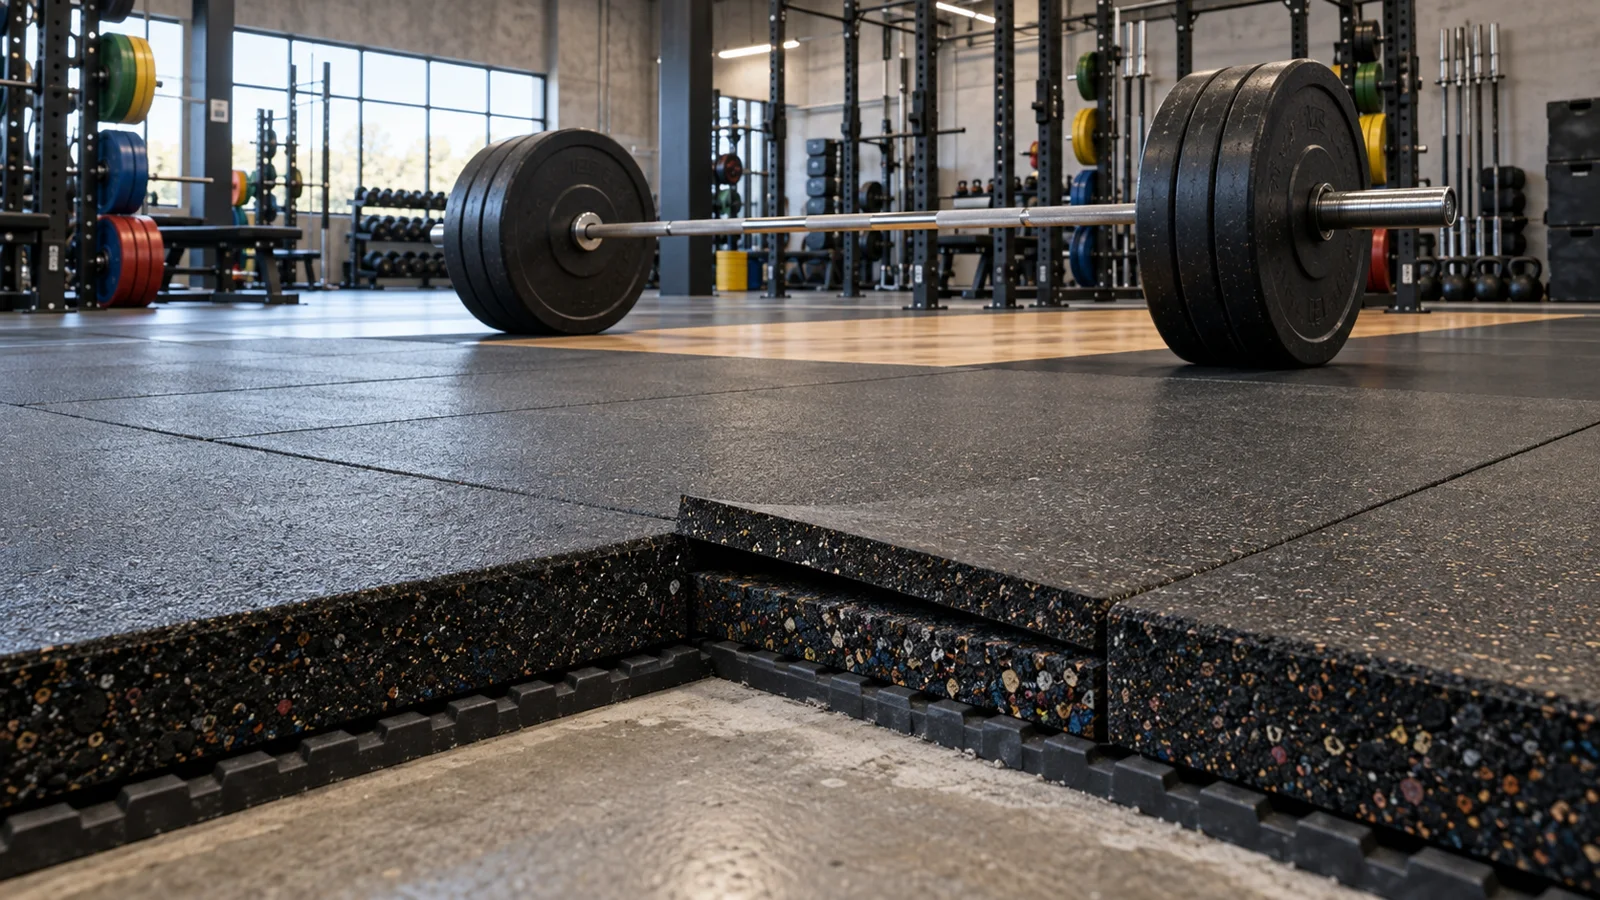
Choose thickness by training zone, equipment weight, drop behavior, subfloor and acoustic risk—not by room area alone. Large cardio and machine zones often use thinner dense surfaces, while free-weight and lifting zones need thicker impact systems.
What determines gym flooring thickness?
Start with the activities that create force. A treadmill produces repeated vibration; a selectorized machine creates a concentrated static load; dumbbells and barbells add impact. A single thickness across the whole room may waste budget in quiet zones and under-protect lifting zones.
Record the heaviest equipment, maximum training weight, likely drop height, rack and platform locations, daily traffic, rooms below and the condition of the supporting floor. Density, tile construction and underlay can change how two products of the same nominal thickness perform.
Practical thickness ranges by training zone
For early budgeting, 4–8 mm dense rubber is commonly considered for circulation and light cardio; 8–15 mm for machines and functional exercise; 15–30 mm for general strength and controlled free weights; and 30–50 mm systems for more demanding lifting areas. These are planning ranges, not structural guarantees.
Upper-floor gyms and mixed-use buildings require an acoustic assessment because surface thickness alone does not predict vibration transfer. A resilient underlay, isolated platform or engineered layered system may be more effective than simply selecting a thicker top tile.
Request the exact material sample, construction and packing data you plan to purchase. Product names alone are not enough for a reliable comparison.
Compare the complete flooring system
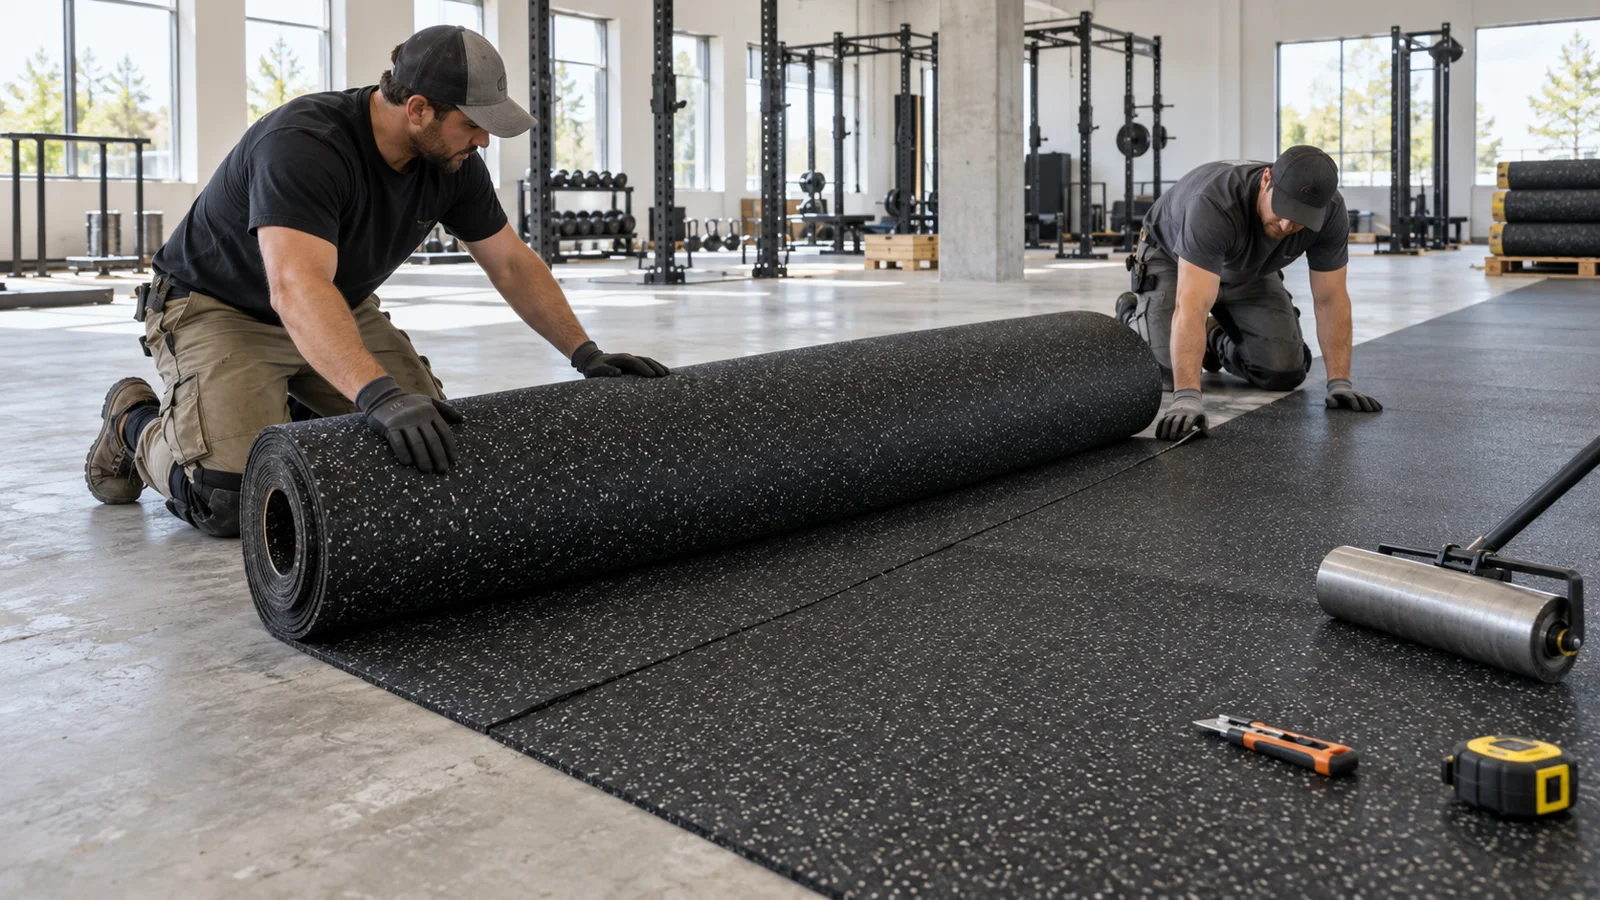
Ask for material composition, density, hardness, thickness tolerance, tile dimensions, edge design, backing, installation method and recommended adhesive. Confirm whether the quoted thickness includes a molded foot, air gap or separate underlay.
Compare physical samples from the exact product family. Press the edge, inspect the surface, measure several points and place samples together to see seam and color behavior. The approved sample should become part of the production specification.
Use zone planning to control cost
Map cardio, machines, free weights, functional training, turf and circulation separately. Keep finished heights coordinated at transitions and doorways. A zoned specification usually produces a clearer quotation and a safer lifecycle plan than a one-product request.
For tender documents, identify each zone, area, chosen construction, thickness, color, installation route and expected use. This lets suppliers quote comparable systems and calculate quantities, waste and pallet loads accurately.
Decision table
| Zone | Typical activity | Early planning range |
|---|---|---|
| Circulation / light cardio | Walking, bikes, light equipment | 4–8 mm |
| Machines / studios | Selectorized equipment, group exercise | 8–15 mm |
| Strength / dumbbells | Benches, racks, controlled drops | 15–30 mm |
| High-impact lifting | Repeated barbell or heavy dumbbell drops | 30–50 mm system |
Buyer checklist
Use this list in your project brief or RFQ so suppliers can recommend and quote against the same requirements.
- ✓Equipment list and maximum working weight
- ✓Expected drops and lifting locations
- ✓Subfloor type, flatness and moisture
- ✓Rooms below or adjacent to the gym
- ✓Finished-floor height and doorway transitions
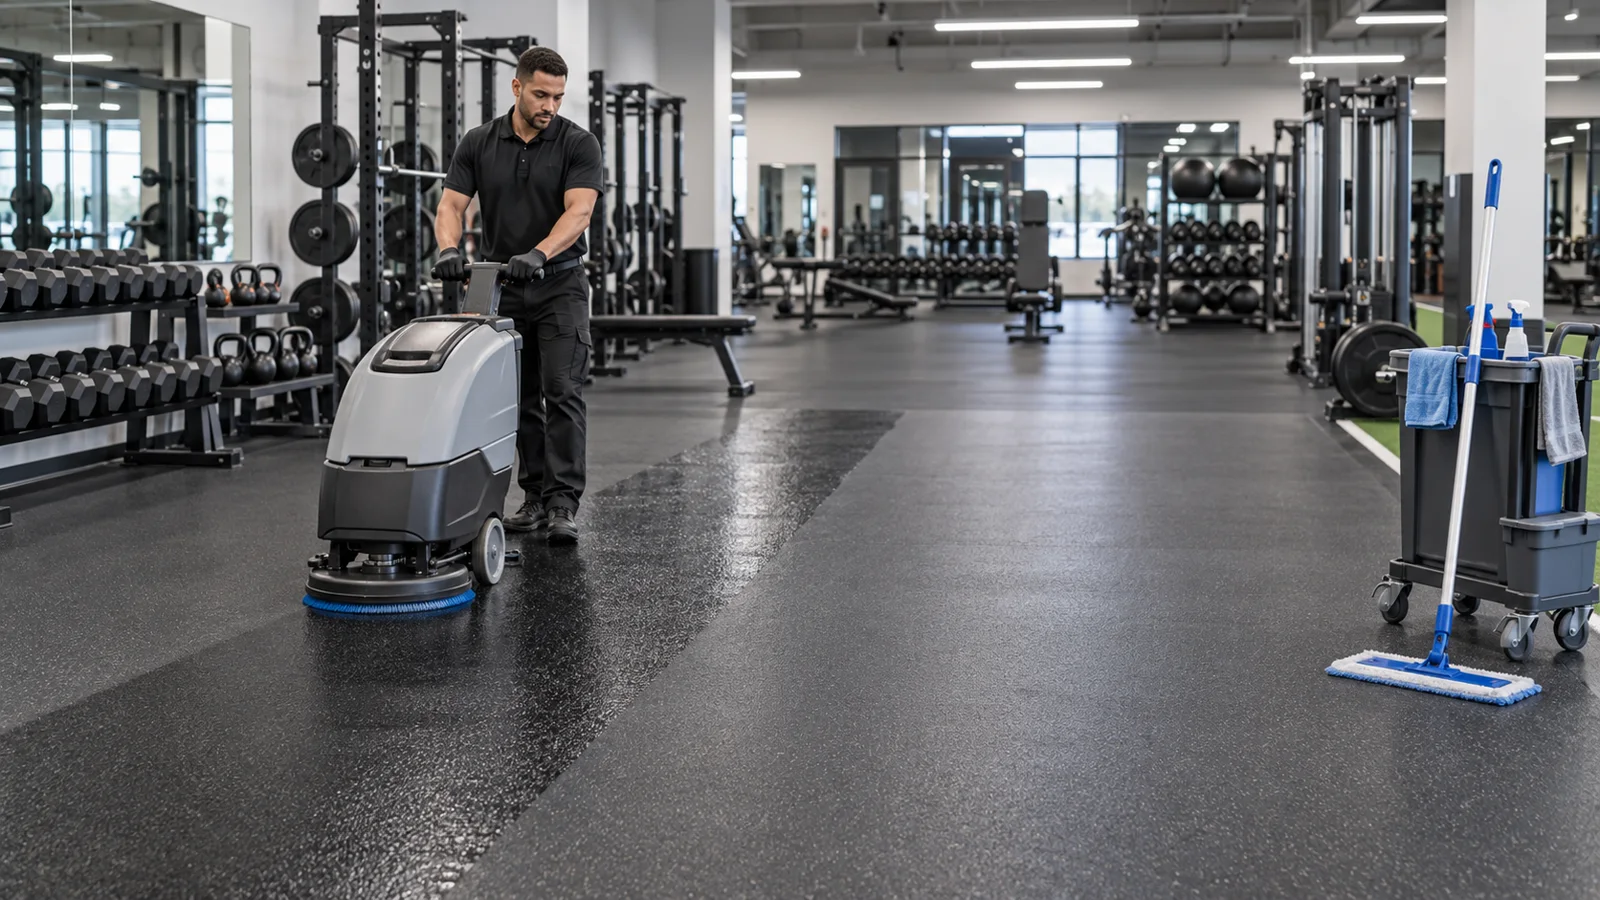
- ✓Cleaning method and replacement strategy
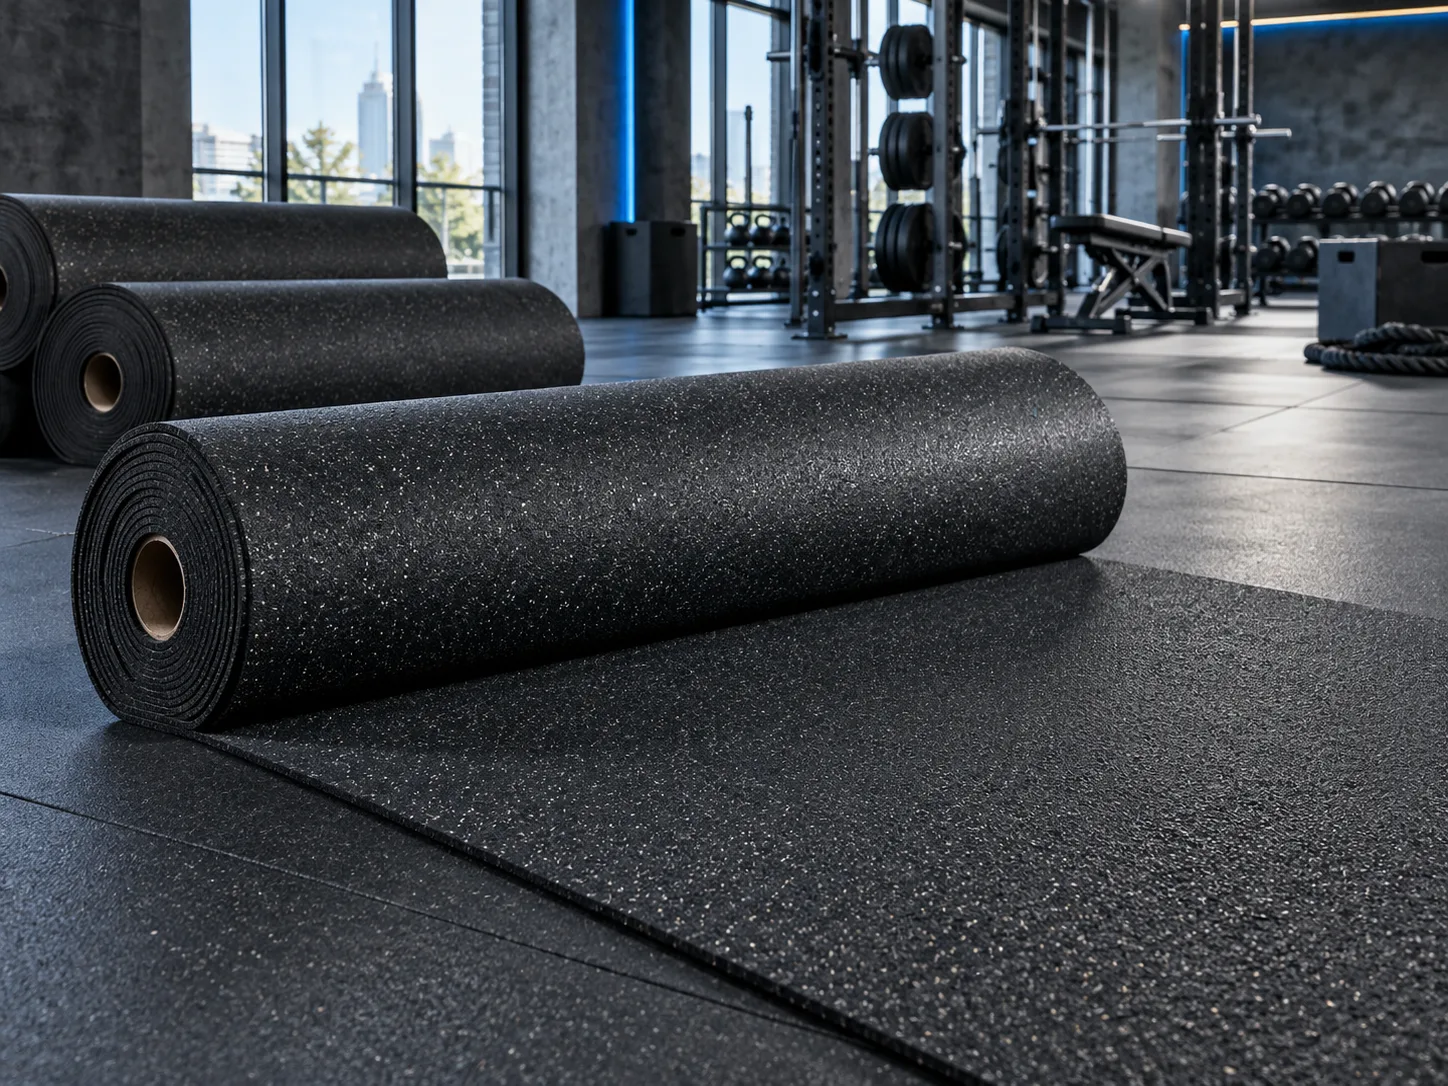
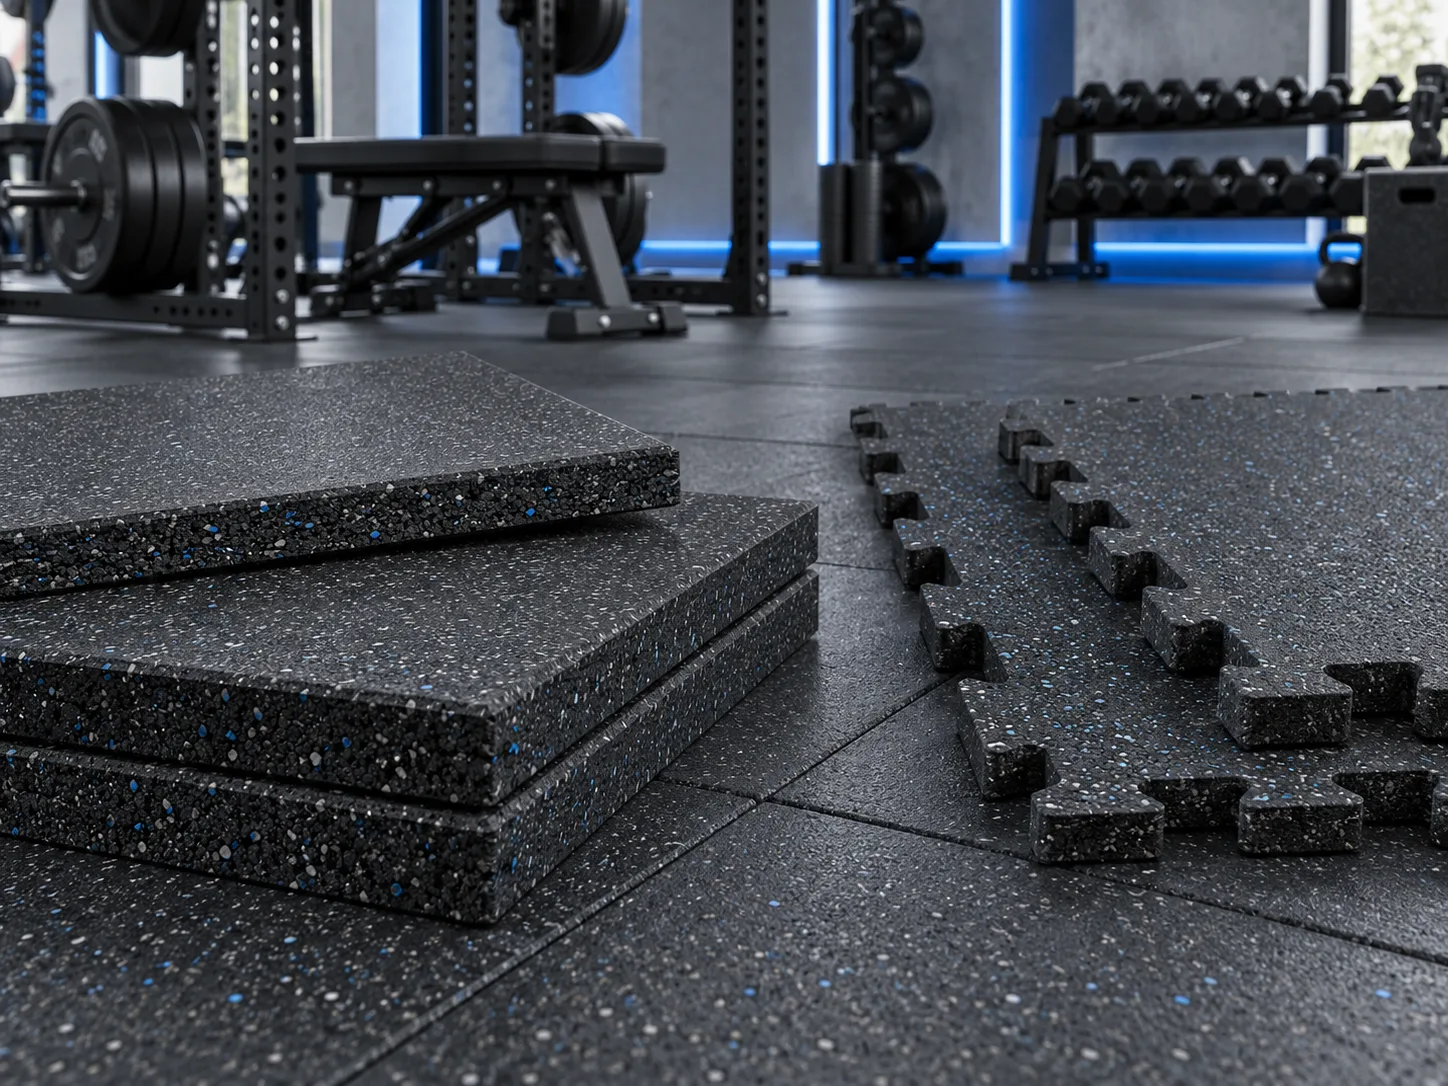
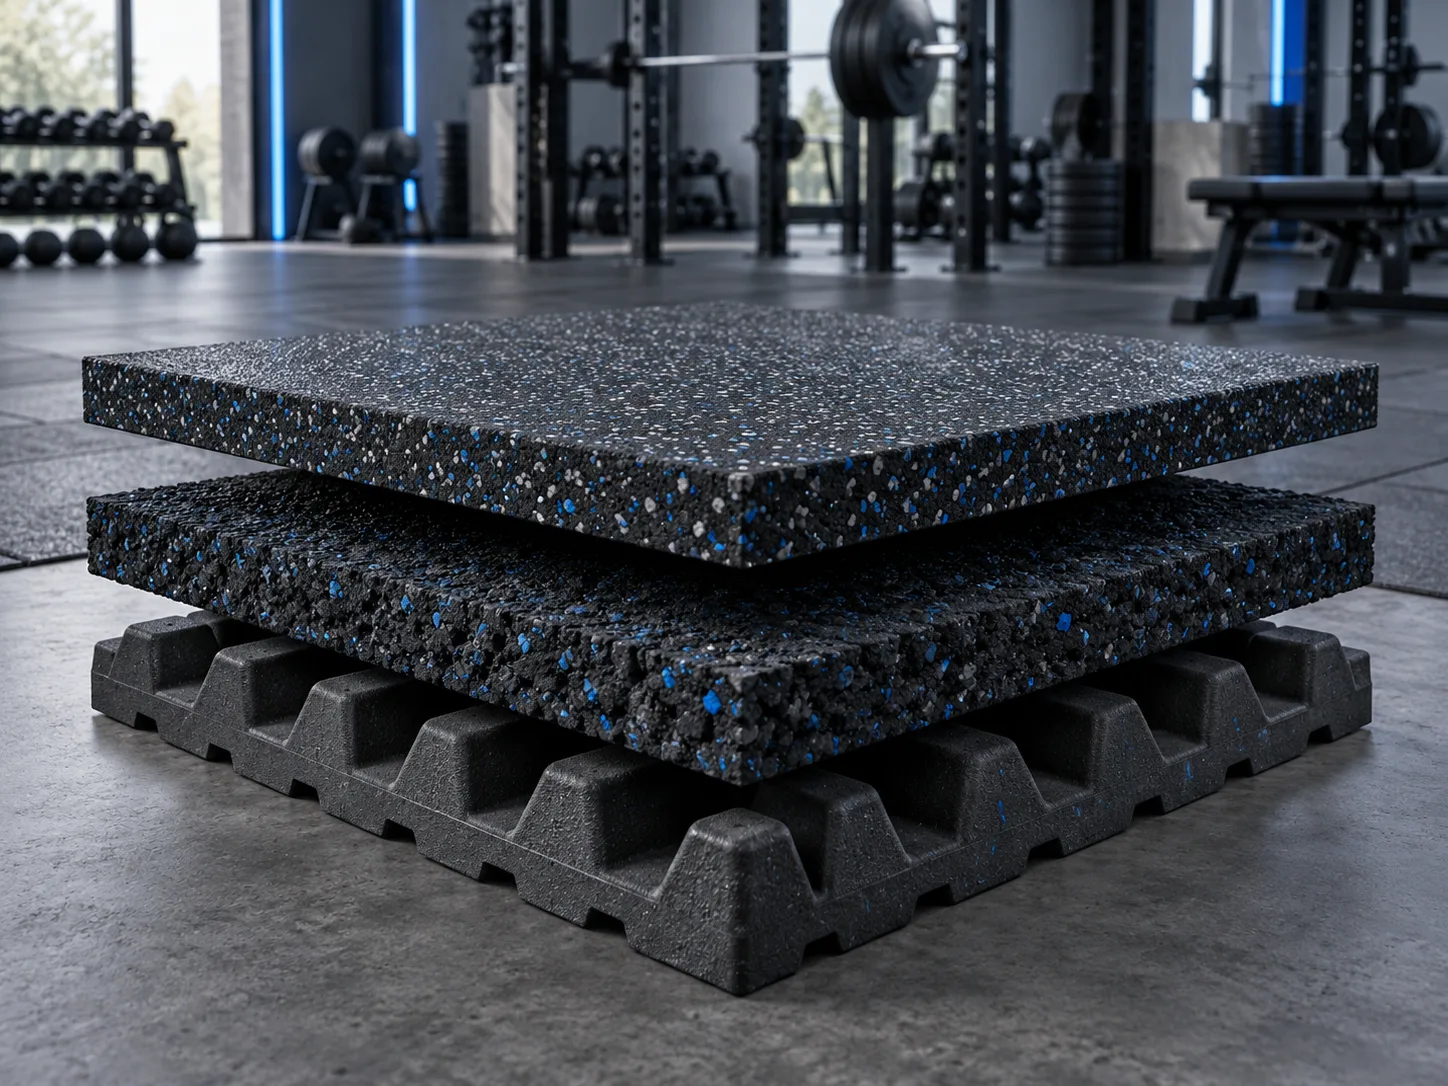
 Weight rooms · 12 min
 Installation · 10 min
 Maintenance · 8 min