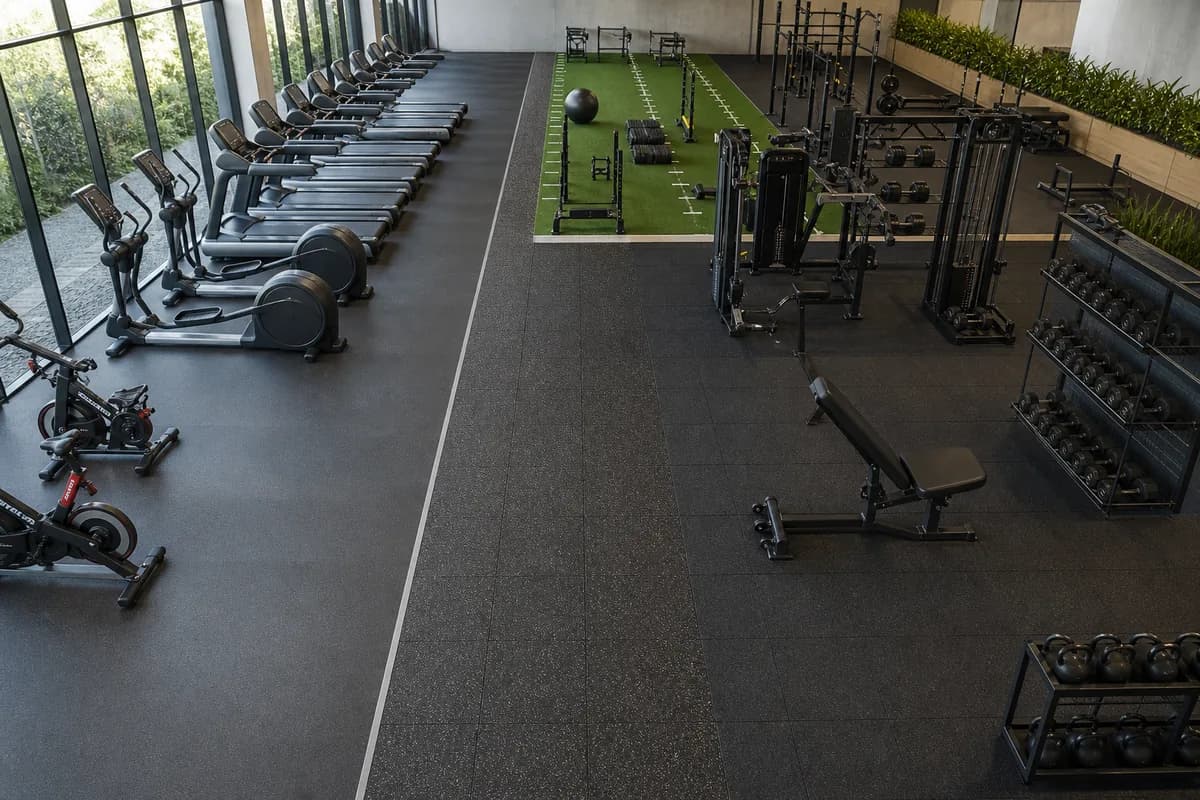
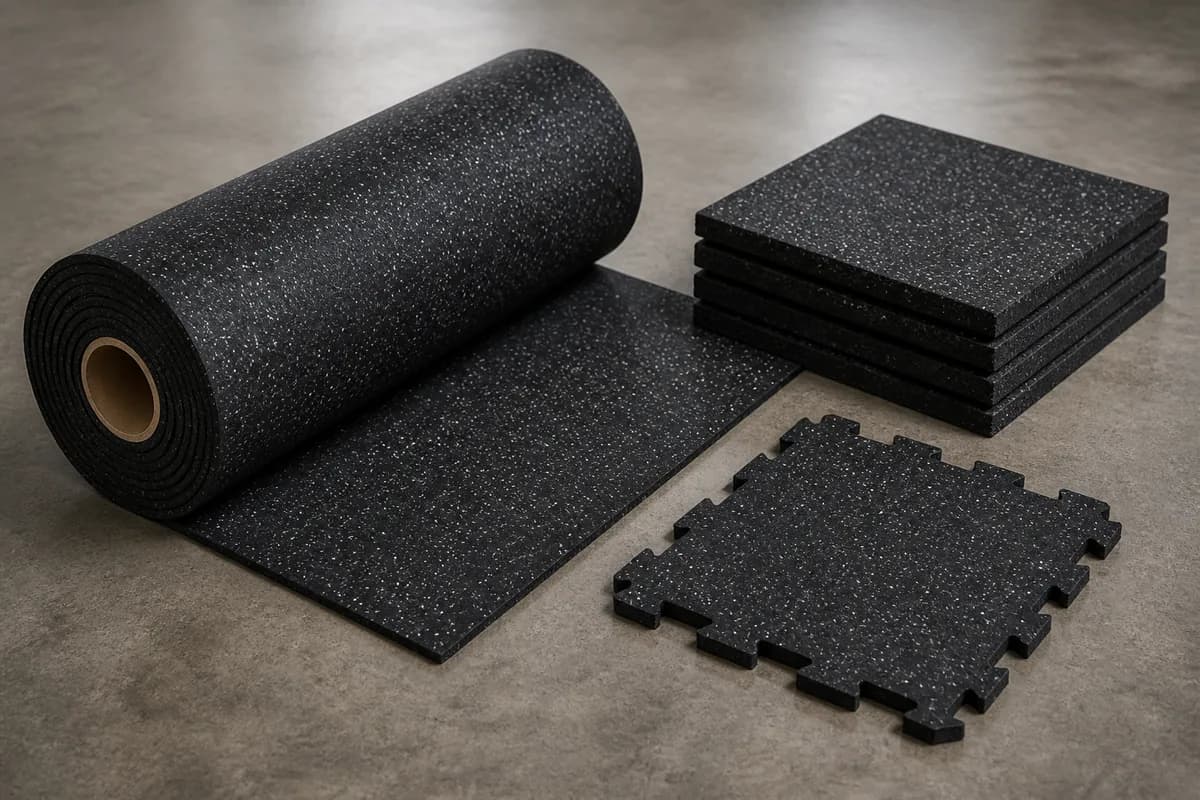
Gym Flooring Installation & Subfloor Preparation Guide
Coordinate moisture, flatness, acclimation, adhesive, seams and handover before gym flooring installation begins.
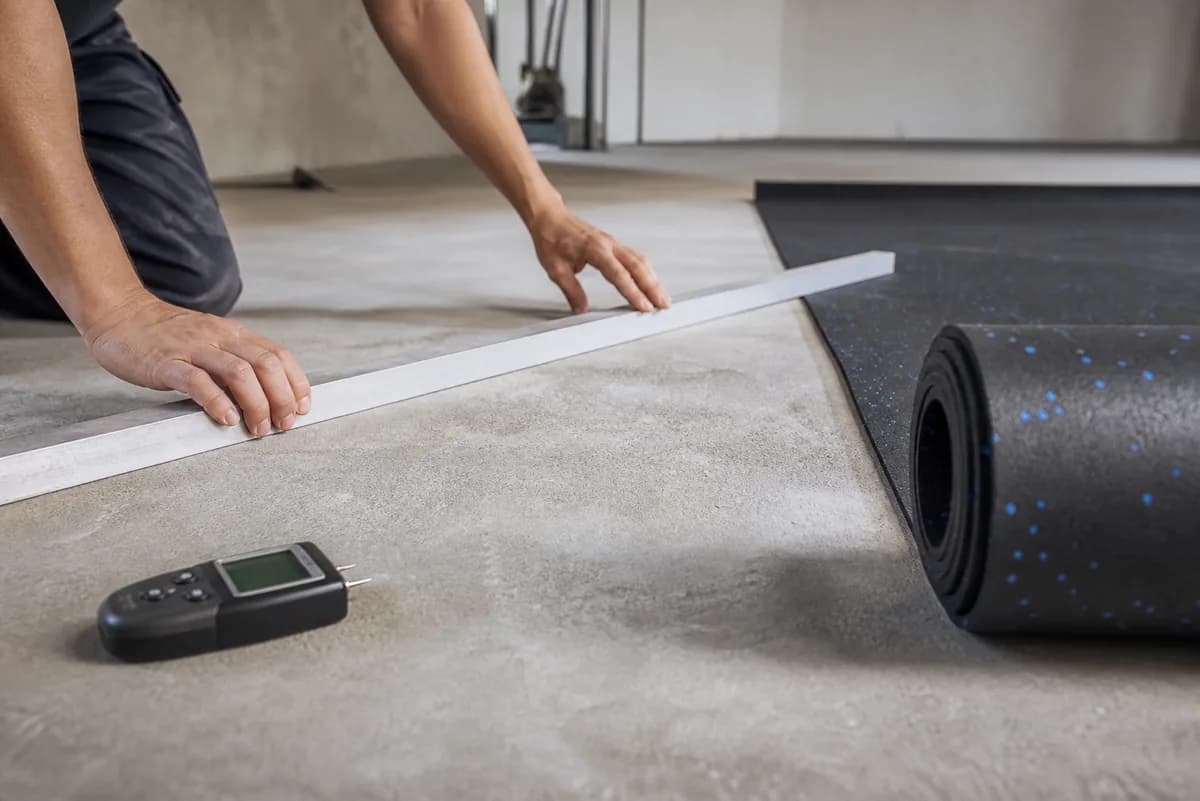
1.Complete a site-readiness survey
Record slab condition, flatness, moisture, contamination, temperature, access, storage and adjacent floor heights. Resolve responsibility for repairs before the installer mobilizes.
- →Subfloor material and condition
- →Moisture assessment
- →Level variation and repairs
- →Room temperature and storage
- →Doorways and transitions
2.Approve the layout
For rolls, confirm direction, seam positions and cutting allowance. For tiles, set datum lines and avoid narrow perimeter cuts where practical. Coordinate equipment anchoring and floor penetrations.
3.Follow a controlled installation sequence
Allow materials to condition as required, use compatible adhesive and tools, maintain clean edges and inspect progressively. Manufacturer guidance does not replace installer judgment or local project requirements.
4.Handover and maintenance
Record installed areas, seam and edge condition, cleaning method, opening time and spare stock. Give the facility team product-specific cleaning instructions and restrictions.
Buyer Questions
Should a buyer approve physical samples before a bulk order?+
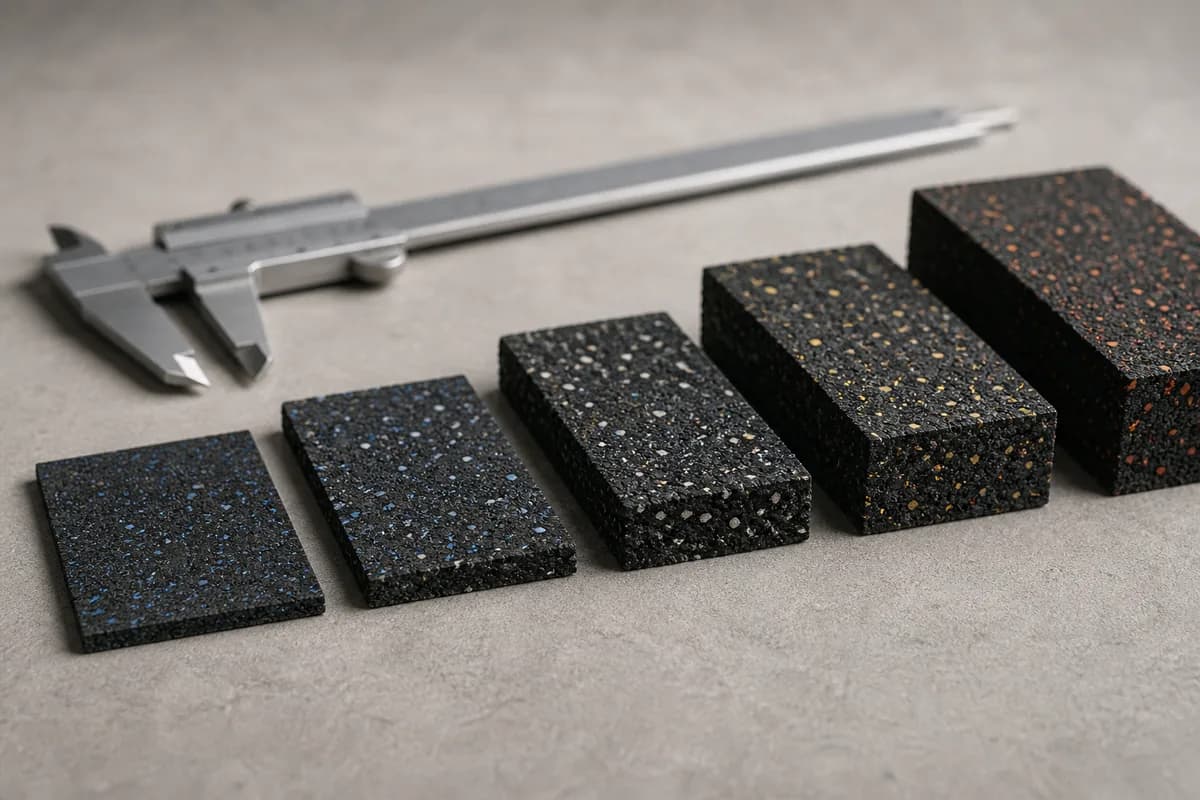
Yes. A retained physical sample gives both parties a reference for thickness, surface, color distribution, odor expectations and general construction before production is released.
Can one flooring specification cover every training zone?+
Sometimes, but zoning is usually more efficient. Cardio, circulation, strength and repeated-impact areas place different demands on a floor, so one universal thickness can over-specify light areas or under-protect heavy areas.
Can rubber flooring be installed over an uneven slab?+
Unevenness can telegraph through rolls or create rocking tiles and open joints. The subfloor should be assessed and repaired to suit the selected system before installation.